back Largo
The Label Review Grid Overview and what you can do with it.
Largo allows you to view annotations with the same label in a regular grid. The annotations can belong to a single volume or an entire project. You can quickly select annotations to change their labels, attach new labels or delete them.
How to use Largo
There are two ways to run Largo. To review annotations of an entire project, click on the button in the project overview. To review annotations of a volume, click on the button in the sidebar of the volume overview. Project guests are not allowed to use Largo.
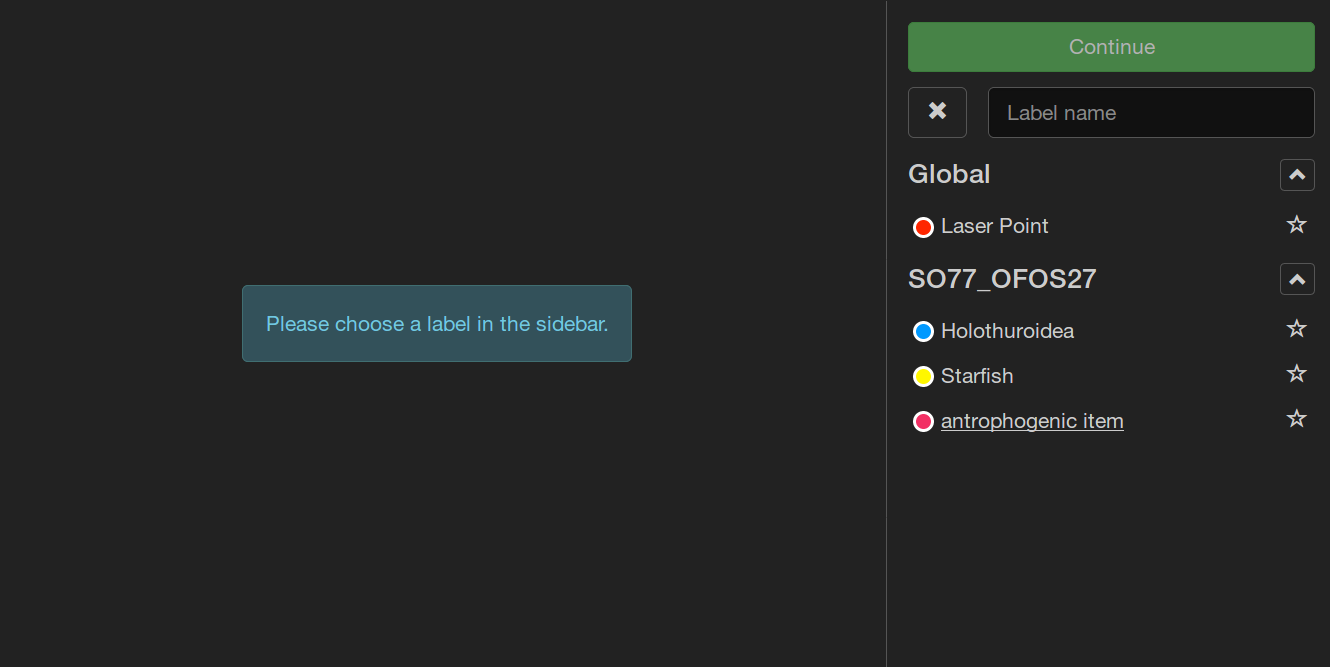
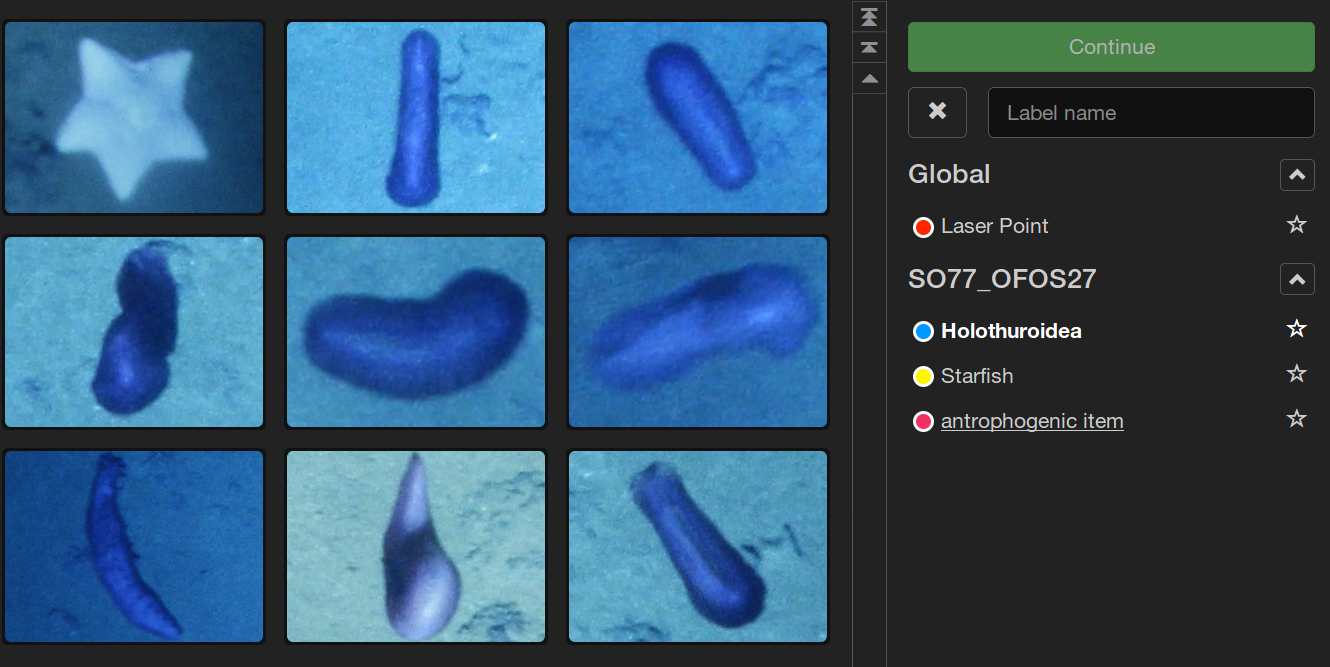
The initial view of Largo shows a sidebar with all available label trees of the project or volume. When you select one of the labels, all annotations to which this label is attached will be shown in the grid. You can navigate the grid in the same way than the image grid of the volume overview.
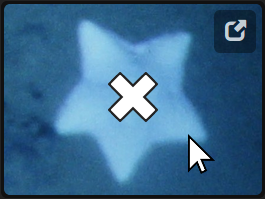
When you hover your cursor over an annotation you can see the button in the upper right corner. A click on this button will open the annotation tool in a new window and focus on this annotation. Use this to review an annotation with its surroundings if you are uncertain what it may be.
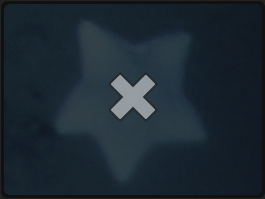
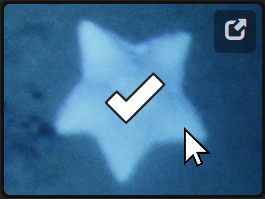
Also displayed on hover is the big symbol. This symbol indicates the "dismissal" of an annotation. Click on an annotation in the grid to mark it as dismissed. You can dismiss annotations belonging to differen labels, too. Once there are dismissed annotations, the button in the sidebar becomes clickable. Click this button when you are finished marking annotations as dismissed to continue to the next step.
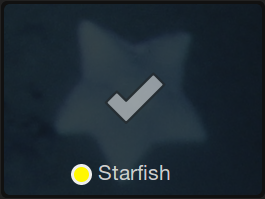
The second step in Largo is the re-label step. In this step all annotations that were previously marked as dismissed are displayed in the grid, no matter what their original label was. If you now hover over an annotation in the grid, the big symbol appears. This symbol indicates a re-labeled annotation. To re-label an annotation, select a label from the label trees in the sidebar and then click on an annotation in the grid.
You can go to the first step at any time. Your re-labeled annotations will not be forgotten. When you are finished re-labeling the annotations, click in the sidebar. When a Largo session is saved, one of three things can happen for each annotation:
- If the annotation was dismissed but not re-labeled and if the label that should be detached was attached by you, the label is detached from the annotation. If this was the only label of the annotation, the annotation is deleted.
- If the annotation was re-labeled and the previous label was attached by you, the previous label is replaced by the new label.
- If the annotation was re-labeled and the previous label was not attached by you, the new label is attached to the annotation in addition to the previous label.
Project experts and admins can choose to enable the "Force delete/re-label" switch. If a Largo session is saved with this switch enabled, the behavior described above changes as follows:
- If the annotation was dismissed and not re-labeled, all instances of the dismissed label are detached from the annotation. If these were the only labels of the annotation, the annotation is deleted.
- If the annotation was re-labeled, all instances of the dismissed label are replaced by (one instance of) the new label.
When the Largo session has been saved, Largo is reset and you can start a new session.
Example use cases
Now that you know how to use Largo, here are some use cases for what you can do.
Review annotation errors
The annotations displayed in a grid make it very easy to spot errors like in the example above. Use Largo to review the annotations and dismiss all annotations that have the wrong label. In the re-label step, assign the correct labels or delete annotations that make no sense at all by not assigning them a new label.
Confirm annotations of others
BIIGLE allows users to attach multiple labels to a single annotation. This way users can confirm labels of other users or suggest a different label. In Largo you can display, "dismiss" and re-label all annotations where you want to confirm or suggest a different label. Don't worry if you forgot to re-label an annotation. If the label attached to the annotation was not created by you, it won't be deleted. Take care not to enable the "Force delete/re-label" switch in this case.
Two step annotation process
The first step of a two step annotation process is to find objects of interest in the images you annotate. You don't care what kinds of objects you see but just mark all with the same label (maybe "Interesting"). In the second step you sort these interesting objects into their specific label categories. For this step you can use Largo. Select the "Interesting" label and all of your annotations will be displayed. Now you pick one label (e.g. "Starfish") and dismiss all starfishes that you see. In the re-label step, you simply re-label all dismissed annotations as starfish and save. Then continue with the next label.
You can perform the two step annotation process with multiple users, too. One user is responsible of finding objects of interest in the images. The other user (e.g. an expert) then assigns specific labels to the annotations using Largo. With the "Force delete/re-label" switch enabled, the expert can replace the generic "Interesting" labels with the specific ones.
Annotation examples
The dismiss step of Largo can serve as an annotation reference. Annotators can check existing annotations of specific labels if they are unsure which label to use for a new annotation. Note that this can be done in the label tree overview, too, but Largo displays only project- or volume-specific annotations.

